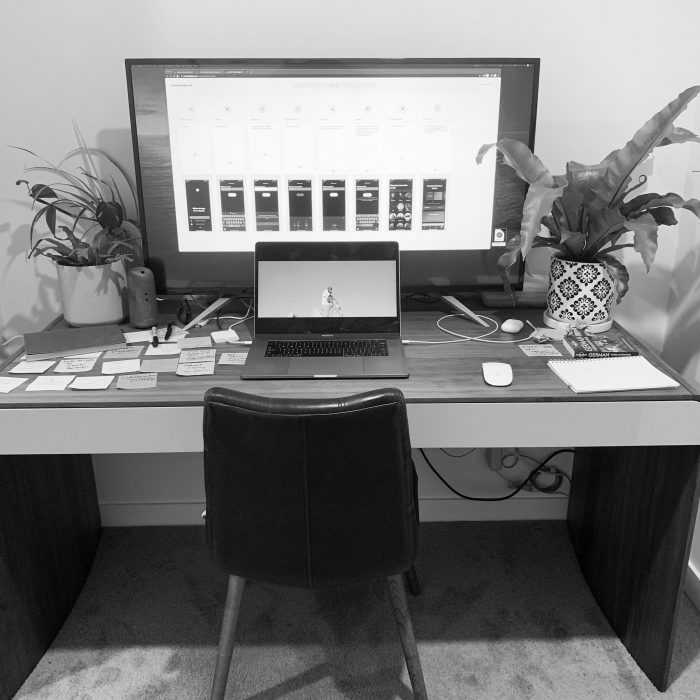
How to set a custom scaled screen resolution on MacOS Ventura

For about three years now, I’ve been using an external monitor with my Macbook Pro.
I have a Phillips 43″ 4K display. It was top quality a few years ago and now there’s better newer models, but I’m reluctant to upgrade, because it was expensive and I want to get the most value out of it.
There are 8,000+ monitors for sale on Amazon.
That’s a lot of different screen resolutions.Fortunately, there’s a solution.
The upgrade to Big Sur
After nine months working from home, I upgraded to MacOS Big Sur.
But something was off, it seems that Apple has reduced the options for screen resolution. And it was a problem, because on such a big monitor, everything was big.

The default options
Out of the box, you can see four recommended resolutions, scaling from Larger Text to More Space.
macOS Ventura

macOS Big Sur & High Sierra

Fixing it
There’s an easy was to customise your resolution.
- Open System Preferences
- Choose Displays
- macOS Big Sur & High Sierra: Hold down the Option key and click on Scaled option
macOS Ventura: Hold down the Option key and click on ‘Larger text’ or ‘More space’
Note: This doesn’t seem to work for in-built MacBook screens, and for some external monitors that don’t support a custom scaled resolution.
Newer Macs with MacOS Ventura:

Older Macs:
